Package and Deploy EJB applications EJB3 bean classes are packaged in regular JAR files. The javabeans configuration can be defined with annotations or using a deployment descriptor ejb-jar that will be located under META-INF folder:
META-INF
ejb-jar.xml
The configuration specified in the descriptor will override the configuration specified by annotations. The JAR generated will be placed under lib folder in the WAR generated for the application.
WAR
WEB-INF
lib
ejbModule.jar
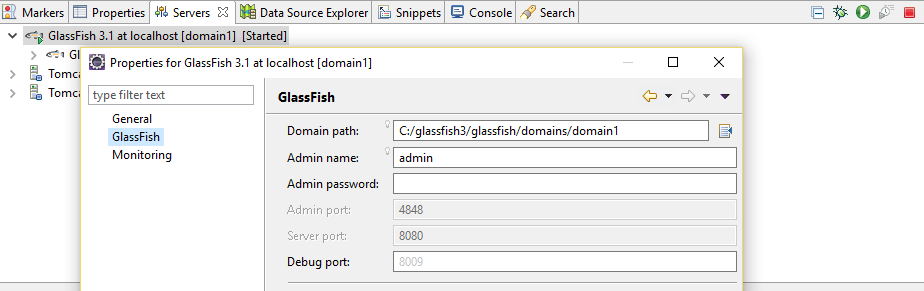
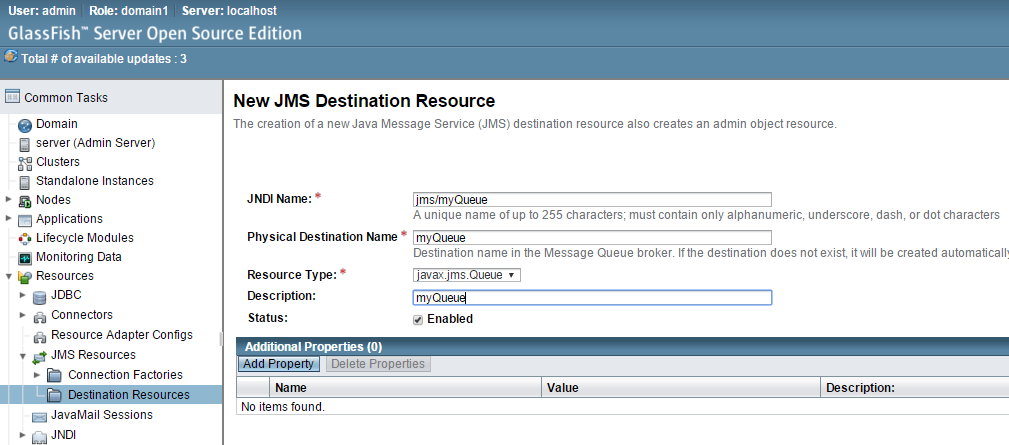
Example of deploying an EJB project in a Glassfish server using Eclipse in this post .
EJBException is a subclass of java.lang.RuntimeException
They always cause a rollback in transactions.
Runtime exceptions are unchecked exceptions, so they are thrown from the method (not need to throws or try/catch clauses)
Way the container hands system exceptions:
Roll back transaction
Log exception
Discard EJB instance
The EJB wraps the exception into RemoteException and throws it to the client.
If the client started the application and it was propagated to the EJB, the system exception will be rethrown as EJBTransactionRolledbackException
Application Exceptions.- errors in the business logic
The do not cause a rollback by default. To rollback the transaction automatically it can be used the annotation @ApplicationException(rollback=true), or doing it explicity with a call the method setRollbackOnly()
They are sent to the client directly. The container does not wrap the exception.
OCEJBCD (SCBCD) - 1Z0-895 - Enterprise JavaBeans Developer Certification 11.1.Understand the JavaEE security architecture -Declarative security (using deployment description and annotations) -Programmatic security More details in securing java beans section from javaEE tutorial. 11.2. Authenticate the caller
Authenticate on a remote EJB can be done by JNDI: properties.put(Context.SECURITY_PRINCIPAL, "usename"); properties.put(Context.SECURITY_CREDENTIALS, "password"); Context jndiContext = new InitialContext(properties); Object ref = jndiContext.lookup("SecureBean/remoteObject");
11.3. Examine JavaEE authorization strategies Details about web application security can be review here.
Basic Authentication
Data is encoded in base64 (not encrypted).
Form-based authentication
Creating a custom login form. data are sent in http request with no encryption. In the Form authentication type the loginPage should be defined (using these three fields: j_security_check, j_username, j_password <form method="POST" action="j_security_check"> <input type="text" name="j_username"> <input type="password" name="j_password"> <input type="submit" value="Enter"> </form>
Digest authentication
Data is encrypted (not SSL) but not all JEE containers support it.
Client authentication
Using Publick Key Certificates Clients need to have a certificate to use it.
Mutual authentication
The server and client authenticate each other. It can be certificate based or user/password based.
11.4. Use declarative authorization
Annotations: @DeclareRoles (class level) @RolesAllowed (class or method level) @PermitAll(class or method level) @DenyAll (class or method level)
These annotations can be used at class or method level. At class level means that those roles will be applied to all the method in the class. The annotation at method level will override the class annotation.
Java Security identity between the client and EJBcontainer is the identity of the caller. Propagating security between EJB containers by default will be the identity of the caller, but also can be specified configuring the bean with annotation(@RunAs("nameOfTheRole"))
Message-driven beans have only @Run As as identity, they are not allowed to use method permissions or execute under caller identity.
11.5. Use programmatic authorization Methods from javax.ejb.EJBContext -getCallerPrincipal()
-isCallerInRole("role")
11.6. Examine the responsibilities of the deployer
To override security annotations at deployment time it can be used security elements in the deployment descriptor. The deployer customises an EJB for a specific operational environment and deploy it into the server. Interprets the deployment descriptor from the application assembler and the bean provider and knows the security roles and users for this system.
10.1. Describe transaction demarcation management JTA (Java Transaction API). Transaction demarcation involves indicating when a transaction begin and ends. There are three kind of demarcation management:
Bean managed
Container managed (by default)
Client managed
10.2. Implement CMT CMT (Container Managed transaction) Transaction attributes Transactions attributes can be used at class or method level.
Required
@TransactionAttribute(REQUIRED) Start transaction or continue with client transaction.
RequiresNew
@TransactionAttribute(REQUIRES_NEW) Start new transaction (stop client and resume later).
Mandatory
@TransactionAttribute(MANDATORY) Always with client transaction, if not throws an exception
Not supported
@TransactionAttribute(NOT_SUPPORTED) No transaction (if client running within trans stop and resume later)
Supports
@TransactionAttribute(SUPPORTS) Bean runs within client transaction if related only.
Never
@TransactionAttribute(NEVER)
10.3. Interact programmatically with an ongoing CMT transaction
A transaction will rollback automatically in CMT when a system exception ocurrs. It can be invoked by setRollbackOnly() method. Methods not allowed in CMT are ( commit, rollback, getUserTransaction...) 10.4. Implement BMT Apply transactions to messaging
@TransactionManagement(BEAN) Use of commit, rollback, getUserTransaction(setTransactionTimeout..etc)
9.1. Describe interceptors and interceptor classes An interceptor is a class used to intercept calls to EJB.
They are usually used for logging, authentication or validation purposes. A typical example can be logging at the beginning and end of a method. This can be a tedious task, imagine to create logging entries for a big application. With interceptors it is avoided this duplicity of code, only specifying this behaviour in an interceptor class and used by annotations in the classes of your application.
The interceptor can be used by all methods of the class if we annotate our bean with : @Interceptors(MyInterceptor.class) We can apply more than one interceptor separating list with comma: @Interceptors(MyInterceptor1.class, MyInterceptor2.class) Or we can define which methods will be intercepted with annotations at method level with: @Interceptors(MyInterceptor.class)
Also we can exclude class interceptors to be executed in some methods with: @ExcludeClassInterceptors
9.2. Create a business interceptor method in the enterprise bean class
Also we can define an interceptor method inside the bean class. This interceptor method will be the last one to be invoked before the actual bean method:
This file contains bidirectional Unicode text that may be interpreted or compiled differently than what appears below. To review, open the file in an editor that reveals hidden Unicode characters.
Learn more about bidirectional Unicode characters
(and for @PrePassivateand @PostActivate methods of EJB stateful session beans).
This file contains bidirectional Unicode text that may be interpreted or compiled differently than what appears below. To review, open the file in an editor that reveals hidden Unicode characters.
Learn more about bidirectional Unicode characters
9.5. Associate multiple business interceptor methods with an enterprise bean Applying the interceptor class defined in the previous section to our test bean. In the output log we can verify that two interceptors method are being invoked for firstMethod: first the interceptor at class level, and second the one at method level. The second method will be called only by the interceptor at bean method due to annotation of excluding class interceptors.
This file contains bidirectional Unicode text that may be interpreted or compiled differently than what appears below. To review, open the file in an editor that reveals hidden Unicode characters.
Learn more about bidirectional Unicode characters
2016-08-28T11:07:55.689+0100|Info: Leaving method:public void example.TestBean.secondMethod() 9.6. Include life cycle callback interceptor methods in an interceptor class
The lifecycle of an interceptor instance is the same as that of the target class instance with which it is associated. @PostConstruct @PreDestroy public void interceptLifeCycle(InvocationContext ctx){... This callbacks can be used to initialize the state of the bean. Because callbacks have not return value, the return type must be void.
This post will compare the solution to choose when a program from a client calls a program in the server in distributed applications. Both scenarios can be implemented using Sockets or RMI. But when this question arises what are the advantages and inconveniences of every one?
RMI vs Sockets
Solution:
Sockets allow to build a custom solution
RMI is a prebuilt architecture.
Language:
RMI provides remote communication between programs written in Java.
Sockets allow communication with any other language different from Java.
Resources
RMI consumes more resources in the network.
Complexity
RMI hides serialization and network communication details, also thread management is done by RMI system. RMI also allows dynamic class loading.
Fork Join technology was introduced with Java version 7, to be able to deal with parallel concurrency. This technology is based in splitting a task recursively until it is small enough to be performed. The sub-tasks will be executed in parallel in different threads. When the sub-tasks have finished, then a join is invoked to merge the results into one.
Example. The following example is very simple. It consists on a function that calculates consecutive natural numbers in an interval. The class will receive two parameters (number min. and max.). If this interval is greater than 6 (in the example) the task will be split into two sub-tasks. The class extends RecursiveTask<Long> and implements method compute(). As our class is a task it will be invoked by ForkJoinPool
This file contains bidirectional Unicode text that may be interpreted or compiled differently than what appears below. To review, open the file in an editor that reveals hidden Unicode characters.
Learn more about bidirectional Unicode characters
OCEJBCD (SCBCD) - 1Z0-895 - Enterprise JavaBeans Developer Certification 8.1. Describe timer services Timer services is a service of scheduling notifications in the bean container. (Available for all bean types except from stateful session beans). Timers services can be created -Programmatically, using TimerService interface -By annotations @Schedule Functionality that a bean with timer services can perform:
Timer timer = timerService.createSingleActionTimer(data, new TimerConfig());
Calendar based: using javax.ejb.ScheduleExpression
ScheduleExpression schedule = new ScheduleExpression(); schedule.dayOfMonth("1,Last");//first and last day of the month Timer timer = timerService.createCalendarTimer(schedule);
When a timer expires the container calls the bean's method annotated with @Timeout (*Note: this method must return void and the argument is optional).
By annotation
Example : @Schedule(dayOfWeek="Mon", hour="0")
8.3. Process a timer notification callback Example with timerService interface
This file contains bidirectional Unicode text that may be interpreted or compiled differently than what appears below. To review, open the file in an editor that reveals hidden Unicode characters.
Learn more about bidirectional Unicode characters
To execute this bean we need to make a call from a client (for example a servlet class) to the method setTimer that indicates the milliseconds after the timeout will happen:scheduleBean.setTimer(30000); Results in server console: 2016-03-26T11:58:33.313+0000|Info: TestBean was successfully deployed in 362 milliseconds. 2016-03-26T12:00:26.816+0000|Info: the next timeout is programed Sat Mar 26 12:00:56 GMT 2016 happening in 29968 milliseconds 2016-03-26T12:00:56.787+0000|Info: Timeout occurred Example with schedule annotation The following example is a stateless session bean, with a timer scheduled every 1 min. When it is deployed in the server, after 1 minute the timeout method is called:
This file contains bidirectional Unicode text that may be interpreted or compiled differently than what appears below. To review, open the file in an editor that reveals hidden Unicode characters.
Learn more about bidirectional Unicode characters
8.4. Manage timer objects -Cancel() - cancel a timer -getHandle() - obtain a serializable object -getTimeRemaining() -getNextTimeout() -getInfo() When using container-managed transactions @Timeout can use attributes: Required or RequiredNew to preserve transaction integrity, which means that in case of rollback the timeout will be reset. OCEJBCD (SCBCD) - 1Z0-895 - Enterprise JavaBeans Developer Certification
This time, the aim of this post is to describe how to upload files to a server using servlet technology.
Upload files with Java technology is easy, we only need to create a JSP page and a servlet class, but we have to take into account this form will be a bit different than usual:
This file contains bidirectional Unicode text that may be interpreted or compiled differently than what appears below. To review, open the file in an editor that reveals hidden Unicode characters.
Learn more about bidirectional Unicode characters
* This example project is using servlet library version 3.0 or above.
This file contains bidirectional Unicode text that may be interpreted or compiled differently than what appears below. To review, open the file in an editor that reveals hidden Unicode characters.
Learn more about bidirectional Unicode characters
1) Getting the file attribute from the request object. file attribute corresponds with the name of the input type ="file" in the JSP. The object obtained is Part type. 2) Obtain the name of the file uploaded: using filePart.getHeader to obtain the value of the property filename. 3) Defining an object OutputStream with the destination path, plus the file name). 4) Read the content of the object filepart obtained in point 1, and writing the bytes into the ouputStream (in the destination). Running the application: http://localhost:8080/UploadWeb/
Select a file from the local disk and click the button to submit the request:
The server logs will display this message:
INFO: Reloading Context with name [/UploadWeb] is completed
Checking the execution result (the path selected in the example is also a local directory C:/uploads), we can verify the file has been uploaded successfully to the selected destination.
7.1. Understand the short-comings of using session beans as messaging consumers
Using a session bean as consumer has the problem of blocking server resources, because it will be a synchronous process (instead of asynchronous processing with message-driven bean ). Using session bean receive() method will block the thread indefinitely until the message becomes available :
Message m = consumer.receive() How to handle the blocking synchronous problem with session bean? Using a timed synchronous receive. A parameter can be used to indicate the time waiting the message to arrive: Message m = consumer.receive(1); //time in milliseconds Message m = consumer.receiveNoWait(); See an example of Writing the Clients for the Synchronous Receive.
7.2. Describe the properties and life cycle of message-driven beans
7.3. Create a JMS message-driven bean To create a message-driven bean the bean class:
is annotated with @MessageDriven
@ActivationConfigProperty Settings(*):
Acknownledge_Mode
Auto-Acknownledge
Client-Acknownledge
Dups-ok-aknownledge
DestinationType
Queue
Topic
Subscription durability
Durable
Non-durable
ClientId
SusbscriptionName
MessageSelector
AddressList
implements MessageListener inteface
overrides onMessage() method
(*)Example of @ActivationConfigProperty configuration:
There is an example of a message-driven bean class at the last section of this post. 7.4. Create life cycle event handlers for a JMS message-driven bean
See this post : Configuring a JMS environment, to know how to configure a server and include jms resources as connection factory and destination
Once the connection factory and the destination(Queue or topic) have been created, we can use dependency injection to use them in our message beans
7.5. Configure a JMS message-driven bean Here is an example of using a message-driven bean:
A client where the user request to send a message (with a jsp page and a servlet, in the same way as examples described in previous posts : calling a session bean from a servlet).
A session bean (stateless) that will define a producer that put the message in the JMS queue.
A message-driven bean that will consume the message from the queue.
Session bean:
This file contains bidirectional Unicode text that may be interpreted or compiled differently than what appears below. To review, open the file in an editor that reveals hidden Unicode characters.
Learn more about bidirectional Unicode characters
This file contains bidirectional Unicode text that may be interpreted or compiled differently than what appears below. To review, open the file in an editor that reveals hidden Unicode characters.
Learn more about bidirectional Unicode characters
Write a message in the textarea and submit the message. In the log can be read the producer sending the message and the consumer receiving it: producer sends the message... consumer receives message... OCEJBCD (SCBCD) - 1Z0-895 - Enterprise JavaBeans Developer Certification
In this post we will see how to create a JMS administered objects (connection factory and a destination) in a glassfish server.
The server must be running.
We can see in properties that the admin port is 4848. So the administration console can be opened in a browser with the URL : http://localhost:4848
To start configuring JMS we need to define a connection factory The connection factory interface is an administered object, used to create the connection with the JMS provider.
So, select Resources/JMSResource/ConnectionFactories/ New:
In this new window complete: - PoolName - ResourceType - Description - Check the enabled status - The pool settings can be left as by default. Click OK
Now, that the connectionFactory has been created, it is necessary define a destination resource (it could be destination, queue or topic). In this example we will define a JMS point to point so we will select queue: Select Resources/JMSResource/DestinationResources/ New:
In this new window complete:
- JNDIName
- Physical Destination Name
- ResourceType : select javax.jms.Queue
- Check the enabled status
Click OK
Now JMS resources have been defined in the server, and we can use them to handle messaging in our application.